


With a foundation built from the last Posting we now have an idea of the process. But if you’re trying to accomplish something more unique and specific, we are going to dive deeper on wood types, prep tips and dealing with old finishes/paints.
Wood for every occasion!
When making an item from the ground up, choosing the type of wood you’re going to use leaves you with lots of options. If you plan your project right, it will maximize your quality and minimize expenses.
For example, if you want to make a nightstand with an extravagant wood grain top, you can save money by matching the color and using a less expensive wood for the rest of the build. Then there is also wood veneer that can go over manufactured building material. Some materials are available in sheet goods as Plywood, those can be layers of solid wood or a cost cutting MDF core.
It will always be worth it to weigh out your options at this step. Do some research on the wood you’re thinking of, put questions about the wood into google even. This preparation will keep your project from losing momentum.
Wood prep, is there more to it?
There are many ways you can prepare your surfaces, obviously sanding is involved but there are other things to look for as well. From the start making sure the wood is fully dried properly is important. Having too much moisture at any point of the process can lead to what’s called Blushing. This may appear as a cloudy milky shape in the finish, we’ll go more in depth later. If you aren’t sure how dry your wood is you can place it in an open, dry and warm place for a few days out of direct sunlight.
Check for splinters, cracks, loose knotholes, and other large defects. For large splinters you want to glue them down if possible, cutting or sanding them off can lead to dips in the wood later. Likewise glue down loose or weak areas like cracks. For larger cracks use a wood glue but for smaller finer cracks a good C.A. Glue (cyanoacrylate glue) made for wood is best paired with a strong clamp. Knotholes that are empty or any other voids need to be filled if you want a smooth finish. Live edge and other customized surfaces can be a whole different Blog. Use a wood filler that matches the wood type and accepts stain like wood so there are no blotches in the color.
After everything is dried, glued and any holes filled we can sand it down. Like mentioned in the last article you don’t really need to go beyond 180 when preparing raw wood.
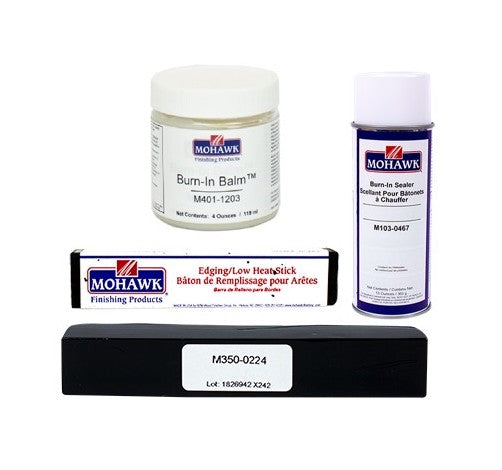
Out with the Old, in with the New!
So, this is a burning question for many, do you use the finish remover or do you break out the power sander?
Sometimes it’s NEITHER!
Taking off old finish is intimidating but we can simplify it. First if you know it’s a solid wood item then fire up the old sander, if not check under the wood or look at the sheets side profile to see the makeup of the material. To test the finish and determine what remover to use, take a cotton swab with acetone and apply it on a small area of the finish. If it beads up then it’s a Poly finish, if it gets sticky or tacky then its varnish or shellac. If its lacquer the finish will dissolve completely.
To differentiate between varnish and shellac, take a cotton swab to apply denatured alcohol (ethanol). The Varnish will react slowly, but shellac will start to dissolve right away.
Wood with an oil finish will absorb linseed oil. If the oil beads on the surface, then the piece is most likely finished with shellac, lacquer, varnish or polyurethane.
You can tell if a Wax Finish has been applied by lightly scraping your fingernail in an inconspicuous area to see if a scratch mark is left
The biggest thing to look out for is the wood veneers that are thin and glued on. In these cases, you may end up removing the glue with the finish remover or over sanding through the veneer. The solution is to sand by hand unfortunately. Grab some inexpensive sanding blocks and work those arms carefully! You can still go through the veneer very quickly.
Ready, set, Seal! Or Stain….
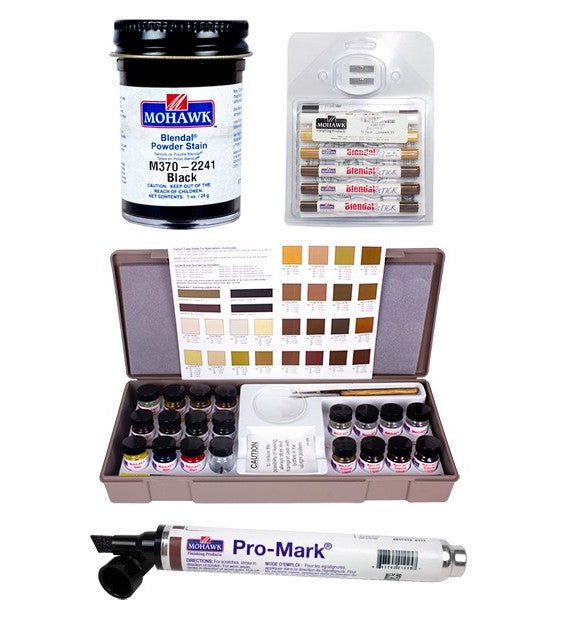
At this point, getting the sealer or stain is the next step. Starting with stain you have choices there too. You have Dye stain, Pigmented stain, Hybrid and Specialty.
Dye stain is quite powerful and soaks into the wood fast and deep. You’re going to have a hard time getting it out without sanding like crazy. You must be careful of lap marks as well. The color is transparent though and shows off grain beautifully, which is usually why this stain is chosen. It’s very consistent if you use a spray system as well.
Pigmented is a solid form of stain, usually in the form of powder suspended in liquid solvent. This provides more consistent color being put down quickly. The drawback is you must wipe up excessive lose leftover pigment on the surface and it doesn’t go as deep into the wood. The other downside is the opaque nature of the stain will muddy the view of the grain.
Hybrid stains like the Mohawk Designer Stain Radiant Series gives you the best of both worlds but will still require wiping up the excess. Lapping is less likely to happen as well but is possible.
Specialty stain usually is something you’d know what you’re getting into when you plan to use it. But always thoroughly read labels and instructions for stains as to not void any factory warranties.
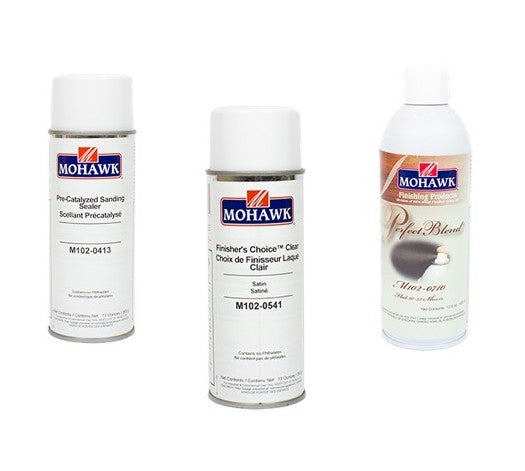
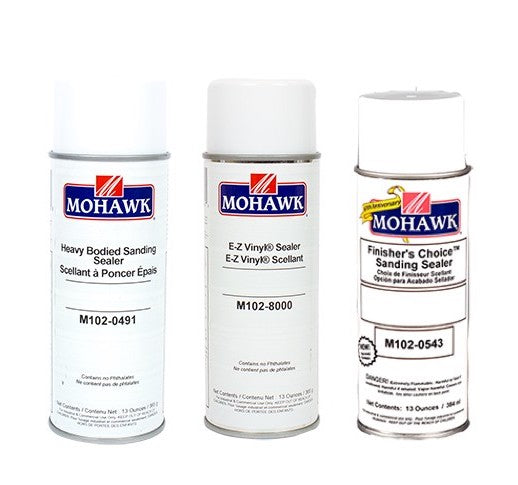
Once your stain is completely dry then using a suitable sealer to prep it for top coating is next. Sometimes two or three coats can be necessary to seal up the wood. The sealer is really to keep the finish from being absorbed into the wood when the topcoat is applied. You’ll be able to see the dry raw areas when the sealer dries and know to recoat with sealer.
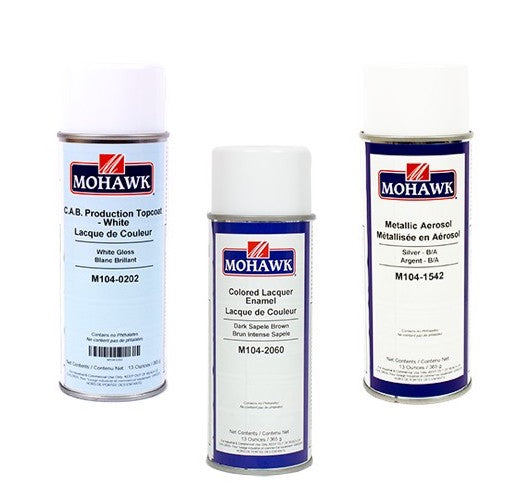
Now you’re off to put that beautiful topcoat on! We will break down the different types of topcoats in the next article.


Comment